
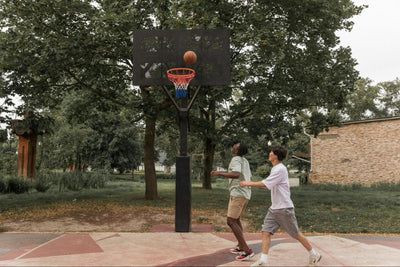
Most of us know basketball backboards being the ones attached to a pole inserted in the ground. However, some basketball backboards are also connected directly to the wall. This is done for many reasons and use cases, such as when someone may be trying to save space and do not have the necessary space needed to set up a pole.
Regardless of why one wants to attach a basketball backboard to the wall, there is a specific way to do this properly. If you are trying to attach your basketball backboard to the wall, then here is how to do it:
Step 1. Find a suitable attachment location
The first thing you must do is identify the location to which the backboard will be attached. This way, you can figure out just how high you want the backboard to be and make sure that there aren't issues that may hinder the attachment procedure or the actual basketball game itself.
A good rule of thumb to follow is that the place you want to attach the backboard should not have any angles or slopes. As for the floor, it should preferably be concrete or asphalt.
Step 2. Purchase the backboard, net, and hoop
Once you've figured out a good spot to attach the backboard to, go ahead and purchase the backboard, net, and hoop. In many cases, the backboard will come with a set of instructions you can follow to install the equipment.
Step 3. Attach the mounting bracket to the wall
If your backboard came with a mounting bracket, then you will need to mount it to the wall where the backboard will be. An excellent tool to have here is a power drill, but a screwdriver and elbow grease will suffice if you do not have one.
If your backboard did not come with a mounting bracket, you would need to purchase one from a sports equipment store. However, you may not need one if you do not mind attaching the board directly to the wall.
Step 4. Connect the hoop to the backboard
With the mounting bracket attached to the wall, you can go ahead and attach the backboard and the hoops first. This way, you do not have to fiddle around with the hoop when the backboard is already attached, making your life a little easier.
Step 5. Place the backboard onto the bracket or wall
Now that the hoop and backboard are attached, go ahead and attach the backboard to the mounting bracket. You may find yourself needing to use bolts, nuts, and washers, so grab a wrench to attach the backboard to the mounting bracket.
If you are attaching the backboard directly to the wall, you will need to use the predrilled holes in the backboard as guides to where you will drill holes. With that done, screws should be inserted then tightened.
Step 6. Put in the net
With the backboard securely attached to the wall, all that's left to be done is put on the net, and you're good to go!
Conclusion
Follow the above steps carefully, and you'll soon be able to enjoy a game or two of basketball with your new backboard! That being said, you'll want it done and dusted the first go-round properly! As such, if you are having trouble attaching the backboard to the wall, be sure to reach out to a handy person or any similar services to help you attach it. Getting it right the first time is vital not to ruin the wall and waste your time. Also, invest in a high-quality backboard, hoop, and more. Doing so will enable you to enjoy basketball for years to come without worrying about having to replace them anytime soon.
Quality Hoops is a provider of high-quality school and gym basketball hoops, gym equipment, and more in the US. Shop our collection of basketball equipment today and get the basketball system you need!


Leave a comment